Friday, 14 December 2012

Battle postponed ...... more Romans anybody?

Surprise family event at the weekend meant I had to postpone the battle and pack it all away again for Monday, as I do my painting up in the same room, still was a nice weekend.

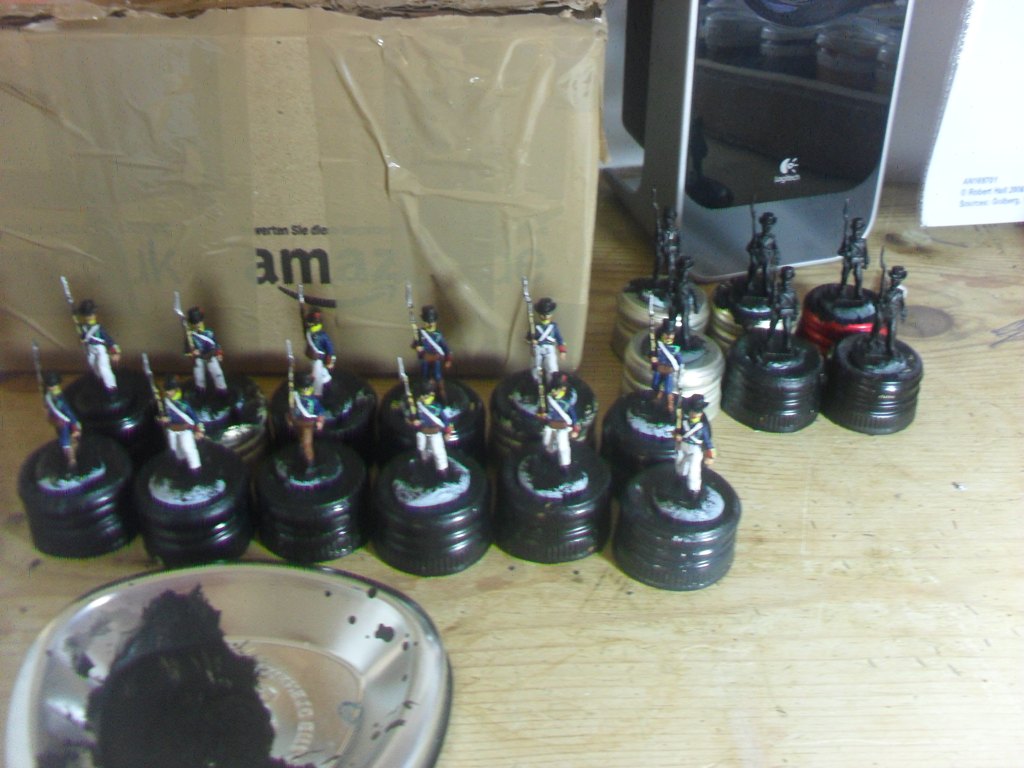
This week I have been painting the first Roman light infantry units and a couple of units of cavalry for the Rome/Carthage commission, and having dispatched more Wars of the Roses 6mm bowmen and artillery I'm now getting started on the first of three battalions of Napoleonic Spanish Militia. I like the diversity of painting different stuff like this, keeps enthusiasm high.

Anyway, for those who enjoy browsing pics of model soldiers of any period (as I do), here are the next 6 units of Romans. Need to finish off the cavalry bases and I think the light green base edges (denoting light infantry) are too bright, so I'll tone them down a touch. Monday will see the first of Carthaginian units, heavy infantry I think.

All figures are of course by Baccus and based using the Baccus basing kit.

I hope you enjoy the pictures.


Saturday, 8 December 2012

Foz do Arouce - set up.

This is the initial set up for Commands and Colours (compare with image below). The French position once the table is laid out actually looks very strong, with the town heavily occupied and Ney himself commanding the centre. The Allies are strong on the right flank - commanded by Picton - but on the left are the battalions of light infantry and rifles from the Light Division under Erskine. I think this has the potential for a cracking little game and I'll be following the actual plans of battle as far as possible. The Light Division caught the French by surprise, appearing close to the town. Only Ney's aggressive tactics allowed the French to extricate themselves and retreat across the river.

All battle notes previously posted here below, Victory conditions are 6 banners for a win, 5 command cards each side, British to move first.

Set up photos, report will follow.


Thursday, 6 December 2012

Another quick Roman interlude!

With apologies to my Napoleonic friends again I just had to post a few pics of these Romans who are ready to be collected tomorrow by their owner. These are the first 14 units of infantry (minus missing yellow shield medium infantry who are still on the painting table tonight but will be ready by tomorrow!) all painted and based by myself for Commands & Colours Ancients. The customer denotes different types on the table by the coloured edge strip, in this case red for heavies and blue for mediums. Again, beautiful little castings by Baccus. Pre cut metal bases were supplied and you can see how they represent a typical C&C 4 'block' unit, casualties being removed via the 3 single rank rear bases leaving the 2 front ranks in tact and still looking like they represent the remains of a unit ....... I really like the idea.

Auxiliaries and cavalry to follow, then onto the masses of the Carthaginian heavy infantry .... I'm very much enjoying this commission, especially as I now feel I do my best work in 6mm.


Pics with permission of the customer, lighting still not great, but you can see the mass effect.

Wednesday, 5 December 2012

Next battle - Foz do Arouce - C&C scenario.


There are of course many unofficial C&C Napoleonic scenarios available to play. This one caught my eye as its a rearguard action and the forces involved are quite small. Wellington himself is represented on the table, as is Marshal Ney, who in typically aggressive fashion went against Massena's orders and deployed for a fight rather than crossing the Ceira river and blowing the bridge. The British are deployed to strike on both flanks, with the Light Division on the left flank. Victory conditions etc are outlined below. The table will be set up Friday afternoon for a weekend battle with a report to follow. 

Foz do Arouce – 15 March 1811

Historical Background
The Combat at Foz do Arouce on March 15th, 1811, was the forth rearguard action fought during Massena’s retreat from Portugal. Once again, Marshal Ney commanded the rear guard. Disobeying Massena’s orders to cross the Ceira River and destroy the bridge near Foz do Arouce, Ney deployed around the town with Marchand’s Division, half of Mermet’s Division, and Lamotte’s light cavalry. It was a good yet dangerous position with the Ceira River at flood stage and the narrow bridge across it already somewhat damaged.
As at Redinha three days earlier, the 3rd Division attacked the French left while the Light Division attacked the French right. The Light Division caught the French unprepared and was making good progress towards the town as was the 3rd late in the day. Only an infantry charge ordered by Ney allowed the French to cross over to the far side of the river. By nightfall the withdrawal was complete.
Foz de Arouce was similar to the Combat of the River Coa fought on July 24th 1810. On that occasion, it was Ney who pursued the Light Division over the Coa. Now the Light Division played a key role in forcing Ney over the Ceira River.
Ney’s acrimonious relationship with Massena would continue to deteriorate. Within a month, he would be dismissed for insubordination. 
The stage is set. The battle lines are drawn and you are in command. Can you change history?

Set-Up Order

Forest12
Hill11
River9
RiverBend5
RiverBridge1
Town2
TownWindmill1

Battle Notes

British Army
Commander: Wellington
5 Command Cards
Move First

     
Line InfantryLight InfantryRifle InfantryFoot ArtilleryHorse ArtilleryGeneralLine InfantryLight Infantry
42111321
French Army
Commander: Ney
5 Command Cards

    
Line InfantryLight InfantryLight CavalryFoot ArtilleryGeneral
42223

Victory
6 Banners
Special Rules
Any ordered French infantry or artillery unit (regardless of strength and with the exception noted below) that exits the battlefield from the French exit hex will count as a Victory Banner for the French army. Exited leaders and cavalry units do not count for French Victory Banners.
The French foot artillery unit on the far side of the Ceira River must remain on that side. If ordered off the battlefield, it does not earn a Victory Banner for the French.
French units cannot exit from the French exit hex when forced to retreat due to ranged or melee combat. Units must halt or remain on the exit hex and lose one block for each retreat hex that cannot be taken. If the unit is eliminated, the British player receives one Victory Banner.
The bridge over the Ceira River is a Victory Banner objective hex for the British player. If a British unit occupies the bridge at the start of the British player’s turn, the British army gains a Victory Banner. As long as the unit remains on the bridge hex it will count as a British Victory Banner (the French line of retreat has been blocked). If it moves off or is eliminated, it no longer counts.
The Ceira River is impassable except at the bridge.