Friday, 5 May 2017

The Battle. Part 1.

* Apologies for the poor picture quality, light is poor in the dining room on gloomy grey days!

The British begin with an advance in the centre, the gunners of both 6 Pounders toiling to drag their guns forwards supported by infantry. The French make an initial advance on their right, Indians moving into the heavy woods as a company of Regulars follows. The British Grenadiers lead the way in the centre supported by the Highlanders as the Light infantry move into musket range of one French gun and open an ineffective moving fire upon it. On the opposite side of the river Canadian Militia skirmish forward to the banks. A general advance in the British centre and left follows, the right remaining static for now. The bulk of the French infantry remain on the baseline, they have a useful 'Bayonet Charge' card in hand which will give five units a two hex move up to the riverbank (and battle in melee combat) but their advance is currently blocked by the Canadians so they hold position for the time being. One band of Indians on the French side has used it's canoe move and disembarked on the 'British' side of the river. close to dense woods. There has been an exchange of artillery fire, but ineffective in the wooded terrain at long range.

General Braddock's plan is to get his men into a strong forward position and to await the French advance across the river, but there will be plenty of action beforehand no doubt as both sides skirmish forward. Montcalm's plan is to soften up the British centre using the Canadians and Indians before sending his regulars forward into musketry range where he hopes the steady volleys from six companies side by side will be destructive.

First to cross to the 'British' side of the River.


Two companies of Canadians flanked by French artillery.

British advance, keeping units mutually supported is a key part of the C&C game.


'Hatmen' of the 1st Foot awaiting orders.

"Load roundshot".. the British right hand gun.

The British left hand gun.

French infantry await the order to advance.
The fighting in the centre now becomes desperate as the Canadian Militia cross the river on an 'Elan' card and engage the Light infantry in the woods in melee combat. The Lights lose 3 men to French artillery fire and melee combat leaving them in imminent danger of routing. The British foot are holding back, as an advance will block the line of sight of both artillery pieces, yet fire from both guns is mostly ineffective, killing one of the Canadian Militia only. The second Militia unit has seized one of the settlers cabins across the river. It's a typical C&C dilemma now for the British, they need to push the infantry forward urgently but the Light Company in the woods are just a single 'block' away from routing and giving first blood (Victory Point) to the French. There is a 'Rally' card in hand however and this is played. This card allows you to throw one dice for each command card held, and rally one 'block' of the type thrown, it's a desperate measure but the roll is good returning two figures to the Light Company, who now being considered 'ordered' engage the Canadians in hand to hand fighting and rout them for the first VP. Meanwhile the French Regulars have advanced in force to the river and make ready to fire.

The French play an 'Elan' card, 5 dice are thrown and return 2 infantry and two artillery - perfect! Both guns open fire in support of the advancing Canadian Militia as they cross the river. Note: a 'flag allows a unit of choice to be ordered.

One unit crosses the ford and seizes one of the settler cabins, while the other wades across to engage the British Light Company in the woods. 


Shrieks from the women as the log cabin is entered by the Canadian Militia.


The French Regulars now advance in force to the river.


An example of my unit stat sheets, in this case Canadian Militia.


 Part 2 will follow shortly.

Thursday, 4 May 2017

Battle in the Wilderness - a French & Indian War encounter using C&C rules.

My French & Indian War collection has been packed away in boxes for several months now and a peep inside a few days ago made me want to get them out and play with them! They remain very much my pride and joy in terms of collection, but have seen little action on the tabletop. I had been working on some charts that would enable them to be used with adapted Commands & Colors Napoleonic rules on the large hex mat I bought recently, mostly based upon the 'unofficial' AWI version on the C&CN website.

For those familiar with the C&C system I took the basic stats of numerous troop types and adapted them for the FIW. This is not a difficult thing to do, so British and French Regulars remain very much as was as do Light infantry and Grenadiers. Canadian Militia and Provincials etc are based on 'Militia' stats with a few tweaks while Indians have a chart created for them that reflects their speed and agility, they retire 2 hexes per flag but their strength lies in close combat where they are described as 'savage fighters'. Artillery use the Napoleonic stats pretty much as they stand. On the British side there is one small cavalry unit, research suggests they were actually provincial cavalry, poorly equipped and horsed, under General Braddock's command, cavalry generally being considered unsuitable for the terrain, but I painted them so they get to take part in the battle! I should add that the 5 figures in the unit are actually Dragoons from the Front Rank 'Culloden' range, I liked them so much I had to paint a few. There is also evidence of French light cavalry at Quebec, although these did not get into the fight, Redoubt Miniatures do  produce these as part of their FIW range so I may add a few later. If anyone has any further info on cavalry in the FIW I would be grateful for links etc.

The table is the standard 13 x 9 hexes and considered lightly wooded throughout with areas of denser woods and a couple of settlers wooden huts. A river flows across as seen below. I don't yet have any hills made unfortunately but I'm working on them. The hexes are 6" and it just about fits onto a 7' x 4' table.

I decided to remove all figures from their storage trays and move them individually as I felt this would better reflect the non rigid formations of the conflict. I use 8 figures to represent a 4 'block' unit, 6 to represent a 3 'block' unit etc. I'll play the British Horse as a 'Cossack' style 2 block unit, very vulnerable but useful for scouting. Artillery are standard 3 block units. Commanders are represented by foot figures, in this case a commander and musician, while my standard bearers (6 per side) will act as 'Victory Points' as per the rules.

Initial deployment as shown below, 5 command cards per side and 6 VP's for the win. I'm using the standard deck with some cards removed as I'll discuss later. I'm not at this stage using the tactician cards and new deck from Expansion 5.

The great thing about C&C is that you are straight into the action from the first command card drawn, the cards drive the game so it works well for solo play. I simply play both hands as best I can. When a card is thrown and replaced I don't look at it until it's time to select a command card to play. I should add that C&C rules are firmly embedded in the old Brainbox from several years of play, so I won't hit the wall I did with my last attempted FOW game.

Scenario: The British force has been ordered to prevent the French/Indian force from crossing the river and seizing control of the settlers land. The settlers will fight to defend their property, but are poorly armed. The 2 Indian Warbands on the French side can use the canoes to move up and down the river if they wish, moving 3 hexes per turn.They cannot battle on the turn they embark or disembark. River stops movement as per rules unless crossing at the ford or bridge. British move first.

Deployment.

This can't be Culloden Moor!

The British Right Flank.

Each Indian warband can use a canoe to travel downstream and deploy.

French centre, Montcalm ready to advance with his Grenadiers to the front.

British Grenadiers with the Highlanders in support. The Grenadiers are a 5 'block' unit with high morale.

British light infantry, mobile (move 2 & battle) and stubborn fighters (Ignore 1 flag roll).

Settlers expecting the worse.


British Commander with drummer.

Newly painted horse - Front Rank.
These pictures are poorer quality but show initial disposition of both armies.

French and Indian Allies on the left nearest the river, terrain considered lightly wooded throughout with more densely wooded areas indicated by clumps of trees.


The British Left Flank, Regulars, Provincials, Indians and Rangers.


Tuesday, 2 May 2017

Perry's 'Travel battle' ....more inspiration.

I have been spending a bit of time looking at product reviews and examples of painted sets before my own arrive. I found these on the Perry's Facebook page and they really set my imagination alight! I can't really explain what draws me to this game, but I'm intrigued by the challenge of painting both the figures and terrain boards.  I think you either 'get it' or you don't, but I'm keen to support the initiative and I know that plastic tooling is very expensive, this must represent a considerable investment for the Perry's and I wish them well.

Example painted by Alan Perry, images borrowed from Facebook page by way of inspiration!


Friday, 28 April 2017

Back to square one?

Following on from my last post here a week ago much has happened with regards to my approach to my hobby. Having set up the table for a solo game of FoW I found that I simply did not have the enthusiasm to play it. The table looked great, it fulfilled all of my expectations, I was happy with the figures and the terrain but just did not know to get underway. To be honest, as anyone who has followed my blog/s over the last ten years will understand, this is nothing new, a look back through the pages of this blog reveals endless projects enthusiastically started but subsequently abandoned. I must have painted and sold thousands of figures over the years, in addition to those painted on commission, there is no doubt that this is where my pleasure lies, I still get a huge buzz from completing a well painted unit but put them on the table and it fizzles out! Lack of a regular opponent could be a contributory factor, it was not always this way, I have enjoyed many multi player games over the years, but somewhere along the line I know that I lost interest in the gaming side. I do have a solid group of old (non wargaming) friends, all now in their fifties or pushing sixty from the festival and party days of 30 odd years ago, but they have no interest in my hobby at all.

So, together with our intended move to Spain this year and the general scaling down of stuff for the move I have decided that I need to focus on something small scale and portable for the future. If I am to play the occasional solo wargame then it needs to be something I can quickly set up, plays quickly using rules that I have memorised on the whole with minimum need to check tables etc and can be played to a finish in around an hour or so.

As soon as I read Bob Cordery's 'The Portable Wargame' something clicked, I saw immediately how well these rules could work for me on a solo basis and provide a game sufficiently interesting and challenging to satisfy my needs. This was buzzing around my head for days, and I took the decision to give it a go. My starting point was going to be a fully portable one piece board just 90cm x 120cm, dotted out in 100mm squares, so 9 x 12 squares. As I had a few extra TSS space saver boards I used these for the basic boards, these will be fixed down onto a thin lightweight ply base and neatly edged with wood. I have play tested the rules and enjoyed myself immensely doing so, going forward from here I'm going to outline the construction of the board, terrain features and organising the armies for the rules, together with a description of how the rules work and general review of 'The Portable Wargame' book itself. I'm currently using the 'E' version but have the hardback on order and due any day now.

For now a few pics showing the current state of the board and terrain, also how the figures are based to work with the rules. Each 1p base (2 figures) represents 1 Strength Point as per the rules, what struck me in play testing was just how realistic the ragged lines of men look as they advance across the table. I'm working on new roads (MDF from Tony at ERM), and other scenic items. I discovered that my TSS hills are all in 100mm measurements so it's possible to overlay the grid with conventional contoured hills as you can see. I think that overall the table looks pretty conventional for a gridded game? More to follow.

Scaling down, board size 3 ' x 4'.

US infantry advancing. 2 figures per base gives me squads of 8 figures for these 'average' troops. This can be varied with Veteran squads starting at 5 SP's - 10 figures.

Shermans facing a solitary Tiger out of sight behind the cornfield. Micro dice will record hits as they reduce Strength Points.

Terrain so far, note the TSS hills marked with the grid.

German Panzer Grenadiers attack with StuG's in classic support role.

Board will be fixed and edged.

German infantry with MG42 (MMG) and Mortar section support.

My 4Ground buildings fit the grid, troops can be placed inside them or behind them, even my wall sections are 100mm lengths!


So far so good, the ruler has been put away and this is working for me, first time I have ever used a square grid in over 30 years of wargaming and I'm liking it a lot.


Thursday, 20 April 2017

At last, some action!

I have become aware recently that this blog is lacking in battle reports, mostly focused upon what's on the painting table as I tend to churn out a fair bit of stuff each week. Whilst I'm still enjoying building and painting 15mm Flames of War models and figures, my enthusiasm for wargaming generally has declined over recent months. A couple of weeks back for example I set up a nice Normandy themed table that featured hedgerow lined roads and fields, standing cropfields, woods and a central village containing no less than ten 4Ground houses.  I sorted out a couple of small forces, stood back and looked at the table and realised that as realistic as it looked, from a wargame point of view it was going to be almost impossible to play on. There was little or no space to maneuver a formation of tanks, hardly any open sight lines and the hedgerows were going to make both movement and shooting difficult. The models went back in the boxes and I started to think about how to simplify the terrain.

For this game the table will be far more open, with far fewer hedgerows lining the roads, just two wood templates and only a few buildings. This is a more traditional approach to table top terrain I think, far more practical if less realistic, with each piece of terrain clearly defined according to FoW V4 rules. The standing crop fields for example are no longer contained within tall hedges as before, but still offer concealment to troops within it. The outskirts of the small village are now more open and sight lines are also more open, offering opportunities for longer range shooting. Having got over the temptation to cram everything onto the table I now feel I can run through a solo game to get to grips with V4.

FoW 4 does make some changes to the previous version, much has been simplified to speed up play, hit allocation is one example where you now simply declare your target team within a platoon and that team takes the first hit with other hits allocated to next nearest etc. The dreaded Bogging checks become Cross checks with a slightly better chance of passing, and formation commanders can issue a 'Follow Me' order to gain an additional 4" of movement if within 6" of a unit. Aircraft rules have been bought more into line with the game with streamlined shooting, fighter interception and flack rules. The assault rules also look to have been tidied up.

So with the table set up as below my youngest daughter diced for sides and placed a couple of objectives for the game. Forces are two late war armour based armies with infantry and artillery support. I'll roll for air support each turn and will be using my Typhoon & ME 262 models, although I'll use the 'Stuka' stats for the latter until I can find something more suitable!

US to move first, it's a simple straight encounter game across a fairly open field, the tall hedgerows remain in the box, the standing crops offer concealment and soft cover, the ploughed fields offer soft cover, the woods are also soft cover and require a cross check to enter, and the railway embankment also requires a cross check to move across. Buildings of course are hard cover, I simply had to get the church on the table although the model  will be much enhanced once rubble sections have been produced as per those made by James at The Mad Tin Hatter blog, well worth checking out, a great idea.

Images show the table before move 1, Dining room booked until Sunday so I can leave it set up and take my time. All terrain items from my collection are as follows:

  • Baseboards by Total Systems Scenic 'space saver' boards. I resisted the urge to add hills at this time although I do have a lot of matching hill pieces.
  • Rural roads, cobbled roads & rail sections are 'Battlefield in a Box' range.
  • Buildings by 4Ground MDF kits.
  • Trees and wood templates by S&A Scenics.
  • Fields made from door mat and carpet tiles recoloured and flocked.
  • Wall sections by 'Small Terrain Miniature Scenery' (eBay)


Battle report and pictures will follow, possibly broken down into a couple of posts.

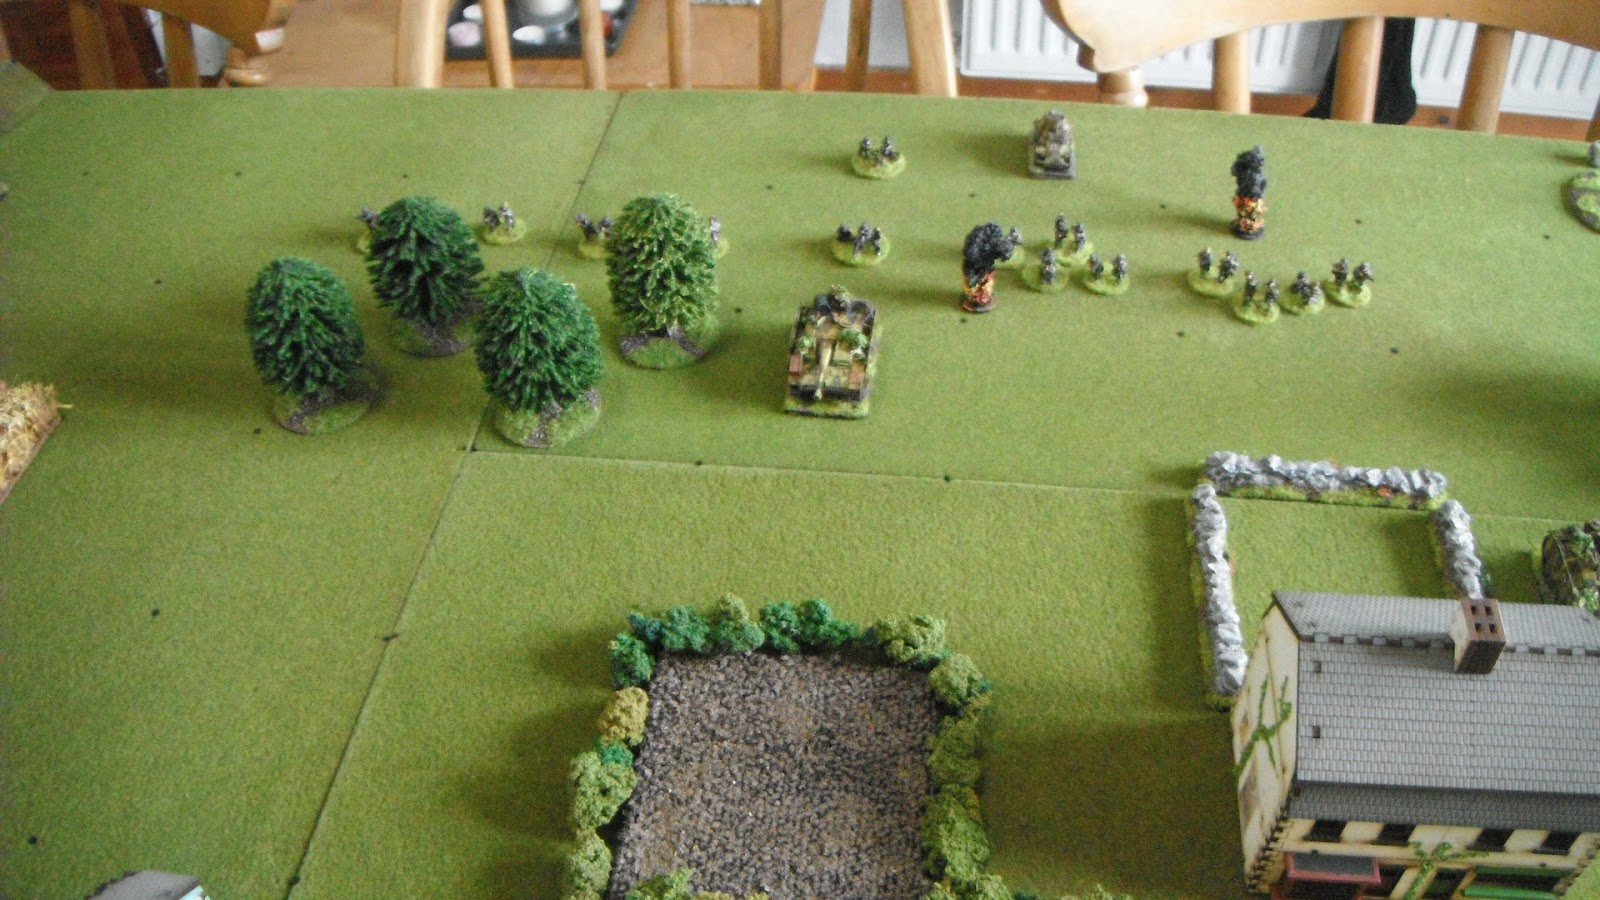
Edited to add a few deployment shots, Turn 1. Deployment is difficult when playing solo, so both sides move onto the table and the shooting can begin in Turn 2. Things look pretty linear but that quickly break down as the game develops. The Germans are massing on the right for an attack on the village, StuG's advancing supported by the Panzer Grenadier platoons with mortar sections. On the Allied right the M10 tank destroyers have advanced in open ground, their recce advancing to find targets while Stuart light tanks move up to protect their exposed right flank. Panzer IV's move toward the woods, they will make short work of those Stuarts if they can get through the woods quickly. Sherman's advance across the entire front.